
Understanding Professional Spray Foam Removal
What is Professional Spray Foam Removal?
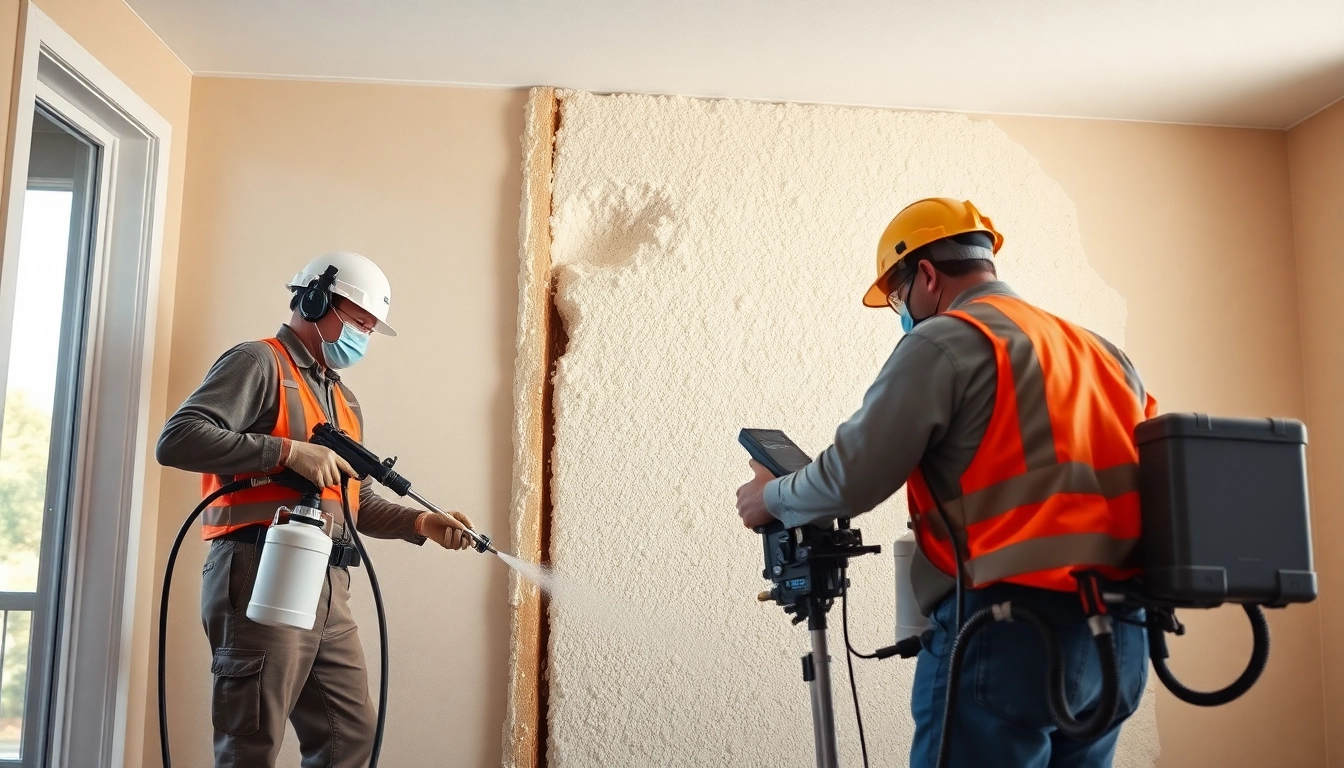
Professional spray foam removal refers to the process of safely and effectively removing polyurethane foam insulation from structures. Spray foam insulation is known for its excellent insulation properties, but when it becomes damaged, moisture-laden, or causes health issues, removal is necessary. Professionals utilize specialized tools and techniques to ensure a thorough job while minimizing damage to underlying surfaces.
Why is Professional Spray Foam Removal Necessary?
There are several compelling reasons for considering professional spray foam removal. Over time, spray foam can deteriorate due to moisture exposure, leading to mold growth and health hazards. Inadequate installation may also result in poor insulation effectiveness. Additionally, when renovations are planned, removing outdated insulation is often crucial to upgrade the space. Engaging in professional spray foam removal not only ensures safety but promotes a healthier living environment.
Signs That You Need Professional Spray Foam Removal
- Mold Growth: Visible mold or a musty smell indicates moisture issues.
- Air Leaks: Poor insulation can lead to drafts and higher energy costs.
- Health Concerns: Allergies or respiratory issues may arise from degraded foam.
- Structural Damage: Water damage or sagging walls can be indicators of foam failure.
- Renovations: If you plan to renovate, existing spray foam should be assessed and possibly removed.
Preparation for Professional Spray Foam Removal
Assessing the Area for Foam Removal
Before undertaking spray foam removal, a thorough assessment of the area is essential. Look for harmful signs such as mold growth, irregular shapes in the insulation, or noticeable air leaks. Understanding the extent of the damage can help to plan the removal method efficiently. Proper assessment will also help identify any additional work that may be required once the foam is removed, such as repairs or alternate insulation placements.
Gathering Essential Tools and Safety Gear
Having the right tools is critical for successful spray foam removal. Essential tools include a utility knife or foam cutter, pry bars, and scrapers. Safety gear is equally important; gloves, goggles, and respiratory masks help protect against airborne particles and chemical exposure during the removal process. Having these tools on hand will streamline the removal and ensure safety.
Creating a Safe Environment for Removal
Safety is paramount during the removal process. Start by ensuring adequate ventilation in the area. Open windows and doors, and use fans if necessary. Cover surrounding surfaces to protect them from debris and chemicals. It’s also advisable to secure the area by restricting access to pets and occupants, preventing any accidents. Before starting, consult local regulations regarding the disposal of removed foam, as it may require special handling.
Step-by-Step Guide to Professional Spray Foam Removal
Initial Steps: Testing and Planning
The initial phase involves testing the spray foam with a small cut or scrape to check its integrity. This can reveal whether the foam is easily removable or if there are additional concerns such as moisture damage underneath. Planning the removal strategy based on these insights will facilitate a smoother process, such as determining the required tools and estimating the time needed for completion.
Implementation: Removal Techniques Explained
There are various techniques for spray foam removal, including mechanical methods, chemical solvents, and thermal removal. Mechanical methods typically involve cutting and scraping away foam, while chemical solvents can help dissolve adhesive bonds. Thermal removal employs heat to soften the foam for easier removal. The chosen method should consider foam type, surrounding conditions, and safety factors to ensure efficacy and minimal secondary damage.
Final Steps: Cleaning Up and Disposal
Once the foam is fully removed, the area should be cleaned thoroughly to remove any debris or leftover particles. Use vacuums designed for construction debris and wipe down surfaces to ensure completeness. Disposal of the foam should follow local guidelines—often, the material must be taken to specific waste facilities equipped to handle it safely. Proper cleanup prevents potential environmental hazards associated with improper disposal.
Aftercare and Maintenance Following Foam Removal
Sealing Gaps and Insulation Recommendations
After removing spray foam, it’s essential to seal any gaps or cracks in the area where moisture and air could infiltrate. Consider using caulk or foam sealants specifically designed for insulation applications. Examining the space for insulation alternatives is crucial; options like fiberglass, cellulose, or rigid foam can provide effective thermal performance while reducing potential health risks associated with spray foam.
Monitoring for Future Issues
After the completion of the removal and sealing processes, ongoing monitoring is vital to ensure no new issues arise. Inspect the area regularly for signs of moisture or air leaks, particularly if new insulation is installed. Form a routine checks schedule to catch potential problems before they escalate, thus ensuring efficient energy use and a healthy home environment.
Choosing the Right Insulation for Your Home
Selecting the right insulation material is critical for maintaining a comfortable living space. Factors to consider include R-value (the measure of insulation effectiveness), moisture resistance, and ease of installation. Consultation with insulation professionals can help identify materials best suited for specific areas of your home, considering local climate and personal preferences. Ultimately, the goal is to ensure longevity and energy efficiency.
FAQs about Professional Spray Foam Removal
What is the cost of professional spray foam removal?
The cost can vary depending on the area size, foam type, and removal method. Typically, prices include labor and disposal fees, ranging from moderate to higher ends of the spectrum depending on complexity.
How long does the spray foam removal process take?
The duration of spray foam removal can range from a few hours to a couple of days, heavily dependent on the project size and the removal method chosen. A proper assessment can aid in estimating the time required.
Can I remove spray foam insulation myself?
While DIY removal is possible, it is not recommended due to health risks and potential structural damage. Engaging professionals ensures the process is done safely and effectively, minimizing issues.
What safety precautions should I take?
Always wear protective gear, including gloves, goggles, and masks. Ensure proper ventilation during removal to minimize exposure to harmful particles, taking care to follow all safety guidelines.
How can I prevent spray foam problems in the future?
To prevent issues, ensure that proper installation techniques are followed, regularly inspect insulation for signs of damage, and engage professionals for periodic evaluations to maintain a healthy home environment.